
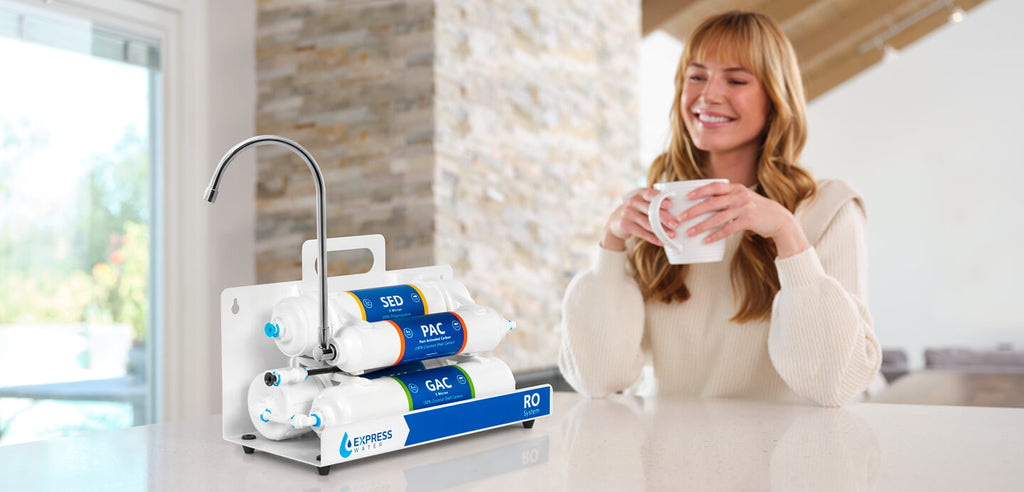
Changing the filters of a reverse osmosis system is essential in order to maintain its efficiency and keep it running smoothly. By following these simple steps, you can easily change your reverse osmosis filters yourself.
Pre-Filters
Step 1
Collect:
- Clean cloth
- Dish soap
- The appropriate sediment
- GAC and carbon block filters
- Bucket/bin large enough for the entire system to sit in (water will be released from the system when it is disassembled)
Step 2
Turn off the Feed Water Adapter Valve, the Tank Valve, and the Cold Water Supply linked to the RO System. Open the RO Faucet. Once the pressure has been released, turn the handle of the RO faucet back to the closed position.
Step 3
Put the RO System in the bucket and use the Filter Housing Wrench to remove the three Pre Filter Housings. Old filters should be removed and thrown away.
Step 4
Use dish soap to clean the Pre Filter Housings, followed by thorough rinsing.
Step 5
Take care to thoroughly wash your hands before removing the packaging from the new filters. Place the fresh filters within the appropriate housings after unwrapping. Ensure that the O-Rings are situated correctly.
Step 6
Using the filter housing wrench, tighten the prefilter housings. Do not tighten too much.
RO Membrane - recommended change 1 year
Step 1
By removing the cover, you may access the RO Membrane Housing. With some pliers, remove the RO Membrane. Be careful to identify which side of the membrane is the front and which is the rear.
Step 2
Clean the housing for the RO membrane. Install the new RO Membrane in the Housing in the same direction as noted earlier. Push in the membrane firmly before tightening the cap to seal the Housing.
PAC - recommended change 1 year
Step 1
Remove the Stem Elbow and Stem Tee from the Inline Carbon Filter's sides.
Step 2
Install the new filter in the same orientation as the previous PAC filter, taking note of the orientation. Discard the old filter after removing it from the retaining clips. Insert the new filter into the holding clips and connect the Stem Elbow and Stem Tee to the new Inline Carbon Filter.
UV - recommended change 6-12 months
Step 1
Take the power cord out of the socket. DO NOT remove the metal cap.
Step 2
Gently and carefully remove the UV sterilizer's black plastic cover (if you don't tilt the system till the white ceramic piece of the bulb is accessible, the bulb could come out with the cap).
Step 3
Dispose of the old UV bulb after unplugging the power cord from it.
Step 4
Attach the power cord to the new UV bulb.
Step 5
Carefully insert the new UV Bulb through the metal cap's aperture into the UV Housing. Then carefully replace the sterilizer's black plastic top.
Step 6
Reattach the electrical cord to the outlet.
ALK or DI - recommended change 6 months
Step 1
Next, unplug the stem elbows from the filter's two sides.
Step 2
Keep in mind how the previous filter was installed and place the new filter in the same position. Discard the old filter after removing it from the retaining clips. After that, attach the Stem Elbows to the new filter by placing the new filter into the retaining clips.
System Restart
Step 1
Completely open the tank valve, the cold water supply valve, and the feed water adapter valve.
Step 2
Open the RO Faucet handle and fully empty the tank before turning the Faucet handle off.
Step 3
Allow the water system to re-fill (this takes 2-4 hours). To let out any trapped air in the system as it is filling, momentarily open the RO Faucet. (During the first 24 hours after resuming, be sure to check for any new leaks.)
Step 4
Drain the whole system after the water storage tank is full by turning on the RO faucet and keeping it open until the water flow is reduced to a steady trickle. Next, shut off the faucet.
Step 5
To completely clear the system, carry out procedures 3 and 4 three times (6-9 hours)
IMPORTANT: Avoid draining the RO System through the water dispenser in a refrigerator if it is attached to one. The internal refrigerator filter will become clogged with the extra carbon fines from the new carbon filter.


Leave a comment